Using the KVM over IP Device
From CyberWurx Customer Wiki
| Revision as of 17:04, 29 January 2008 (edit) Cwadmin (Talk | contribs) (→Step 3) ← Previous diff |
Revision as of 10:12, 31 January 2008 (edit) (undo) Cwadmin (Talk | contribs) (→Step 3) Next diff → |
||
| Line 38: | Line 38: | ||
| == Step 3 == | == Step 3 == | ||
| - | Log in with your customer center credentials and proceed to the kvm home screen. | + | Click on 'Launch management' to be taken to the IP KVM home screen. |
| - | [[Image:Kvm_login.Png|frame|left|Figure 2.3 - KVM login]] [[Image:Kvm_home_screen.PNG|frame|right|Figure 2.3.1 - KVM Home Screen]] | + | [[Image:Kvm_home_screen.PNG|frame|right|Figure 2.3.1 - KVM Home Screen]] |
| <br> | <br> | ||
| <br> | <br> | ||
Revision as of 10:12, 31 January 2008
Contents |
Obtaining an IPKVM
If you would like an IPKVM installed on your system, write the support department.
How to Use my IPKVM
If you obtained the IPKVM function on your server here are the instructions on logging in in a few simple steps.
Before you begin, make sure you have logged into the customer center.
Step 1
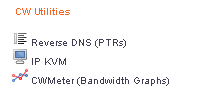
Verify you have the IPKVM enabled for your account. You should see an option under Services if it is in fact enabled.
The KVM will show up under services like Figure 2.1 shows.
Simply click on the IP KVM icon and proceed to step 2.
Step 2
Now you are inside your IP KVM management page. Usually you will only see one device listed here. If you have more than one you will see each one here.
You would simply click Launch management for access to the KVM.
Step 3
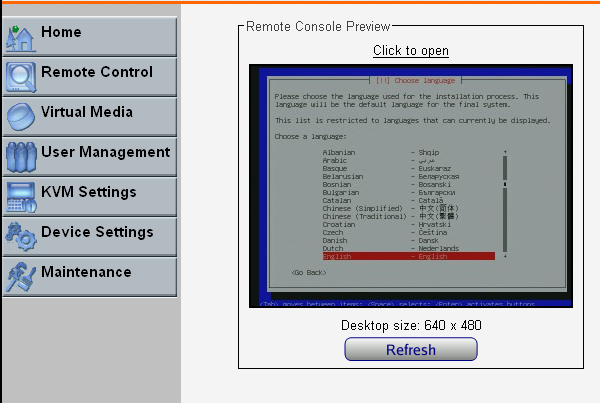
Click on 'Launch management' to be taken to the IP KVM home screen.
From the Home screen, you can see your current desktop.


