Using FTP to manage your game files
From CyberWurx Customer Wiki
For our examples, we are using Ubuntu 9.10 with FileZilla installed.
Contents |
[edit] Logging in
Your Server Details screen will have a subsection called FTP Details. Here, you will find the FTP IP, user, and pass for your game server. We will use this information to log in and modify game files.
[edit] Connecting using FileZilla
Above is the quick connect bar. Use this to connect to your server. Fill out the following information:
Host: IP Address from the FTP Details box.
Username: User from the FTP Details box.
Password: Password from the FTP Details box.
Port: leave this blank.
After you get the information filled out, click: Quickconnect
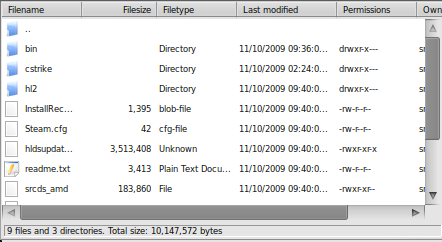
This will connect you to the game server's FTP. If you did this correctly, you should see file contents.
[edit] Browsing Files
As you can see, your directory structure is laid out neatly for you. Folders at the top, files at the bottom.
For our tutorial, we will be editing the server.cfg file for Counter-Strike: Source.
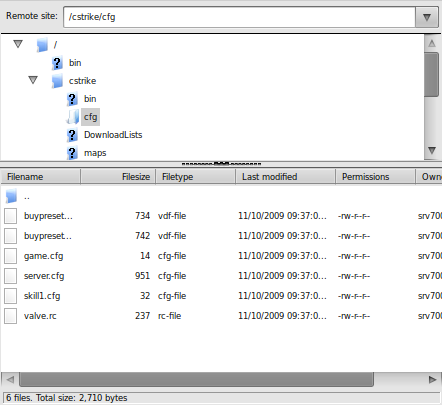
In our example, we will find the /cstrike/cfg/ directory and change to it:
From here, we will edit the server.cfg file. Right-click and choose View/Edit.
- Your client may ask you about an acceptable editor. You could use NotePad++ or Notepad.exe for this.
When you open the file to edit, it will download the file to a temporary area. When you save the file and close the text editor, the FTP client will ask if you want to upload it. This is a convenient way to edit files on the fly.
[edit] Editing the files
Just to show you the process, we will edit the parameter and re-upload the file.
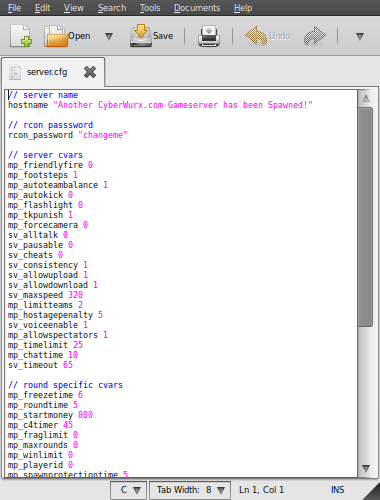
Above is the text editor pre-configuration of hostname and the rcon password.
Lets change these two cvars to something acceptable.
hostname "CW Clan :: CS:S 24/7 de_dust2 :: STATS"
rcon_password "mygameserver"
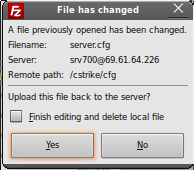
Now that you are finished with those cvar changes, save the file and close the text editor. You should see the following message, or something like it pop up:
Click yes, and the file is automatically uploaded and is now the active server.cfg!
[edit] Uploading Files
From time to time, you will find yourself uploading custom plug-in files as well as custom maps outside of the realm of the default. Here is how you would upload a custom file to your FTP.
[edit] Find the Remote Path
First you need to find the remote path. This is the path on the server that you want to upload to. For our example, we will be uploading a new map to our server.
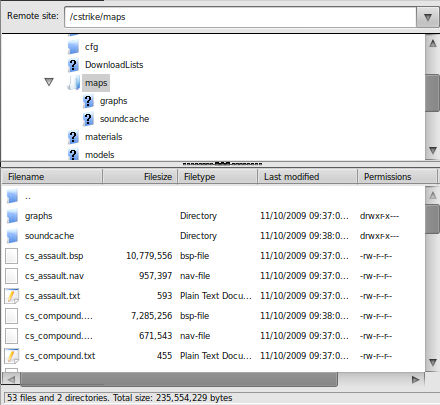
We will browse to our maps directory. In our example, the maps directory is located: /cstrike/maps/
[edit] Find the Local Path
Now you need to browse to the local path on your computer.
Once you find the local path you will go on to the next step.
[edit] Upload the File
To upload a file, simply click and drag the file in question to initiate the transfer. When it is finished, it should show up on the right side.
